I have recently signed up to sit the SC-500 (Cloud and AI Security Engineer Associate) exam. With AZ-500 approaching retirement, SC-500 felt like a good opportunity to build a stronger foundation in Microsoft’s cloud security ecosystem. As a newly launched certification, there still is not a number of exam-focused material available online compared with more established Microsoft certifications. It’s also generally considered an intermediate-level certification rather than an entry-level one, and I’m interested in eventually working towards SC-200 as well.
Rather than simply reading through the exam objectives, I wanted to use the certification as an excuse to get genuinely hands-on with Azure and Microsoft Entra ID. The goal of this project is to build the environment, configure the security controls, break things, troubleshoot them, and understand why each control matters in a real-world scenario.
This is Phase 0.
Before touching Conditional Access, Privileged Identity Management (PIM), or some of the more interesting Entra ID security controls, I first needed a clean tenant that I could safely experiment with. More importantly, I wanted to make sure the foundation was set up correctly from day one. Identity configuration mistakes made at the tenant level can become difficult to untangle later, so getting the basics right first is an important part of the exercise.
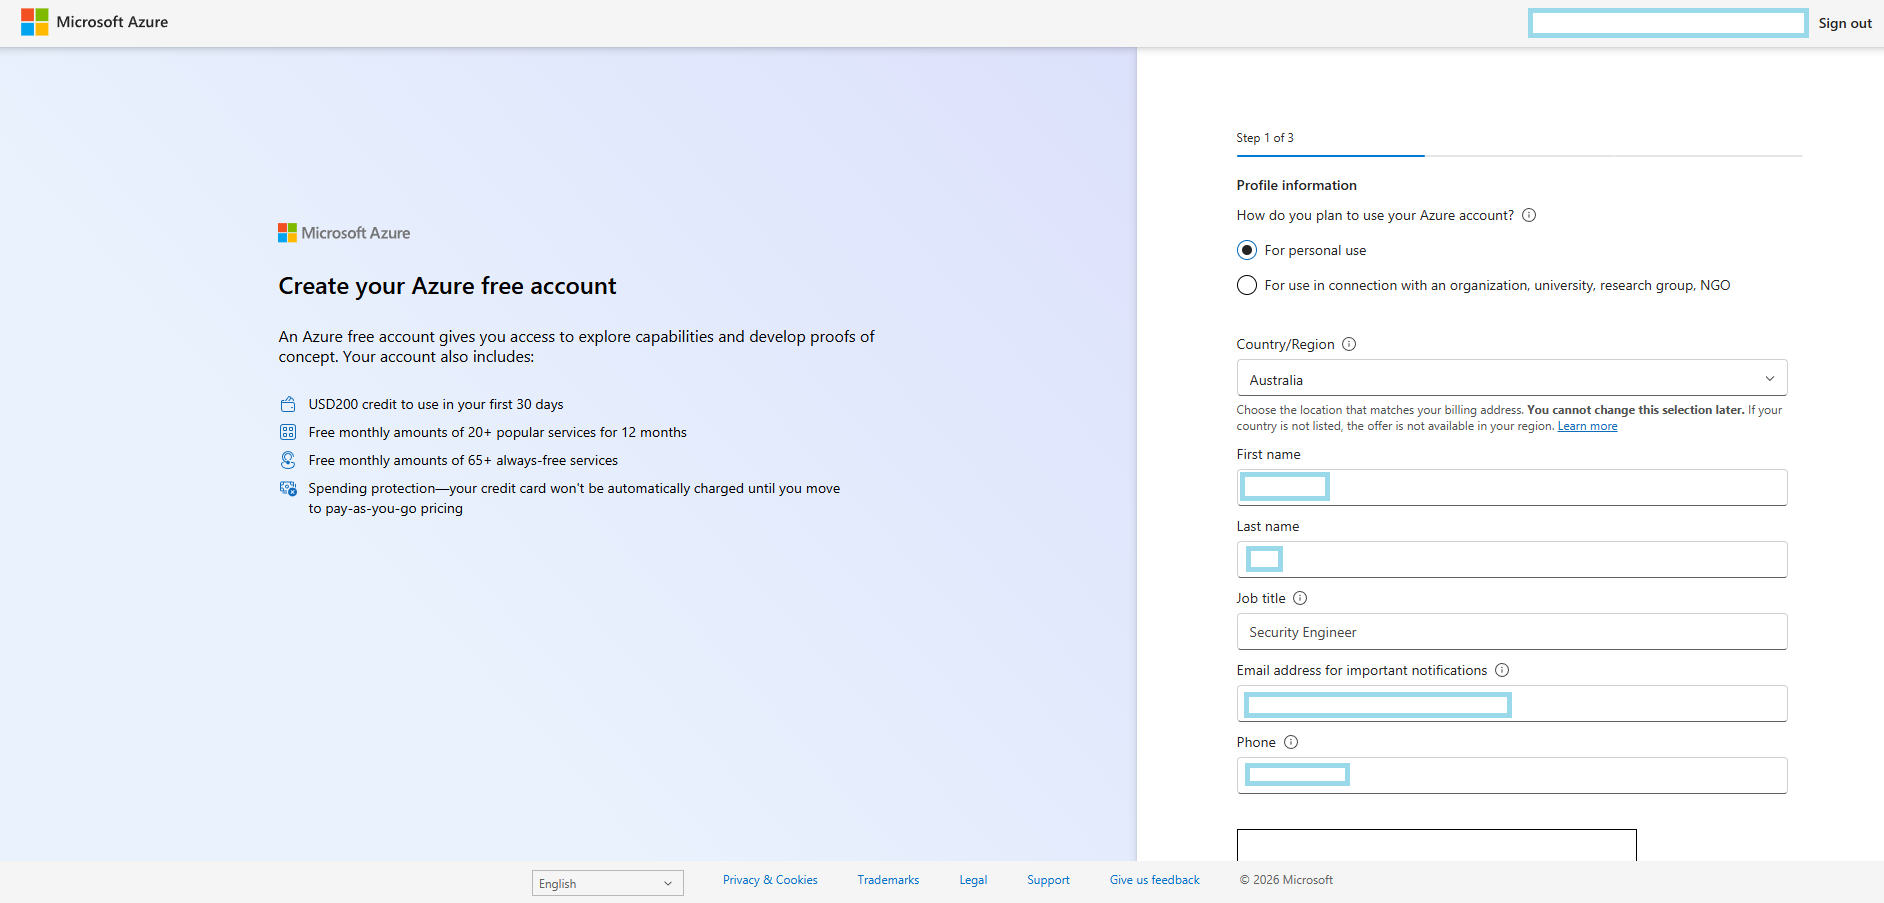
0.1 Creating the Azure Account
I started by signing up for a free Azure account.
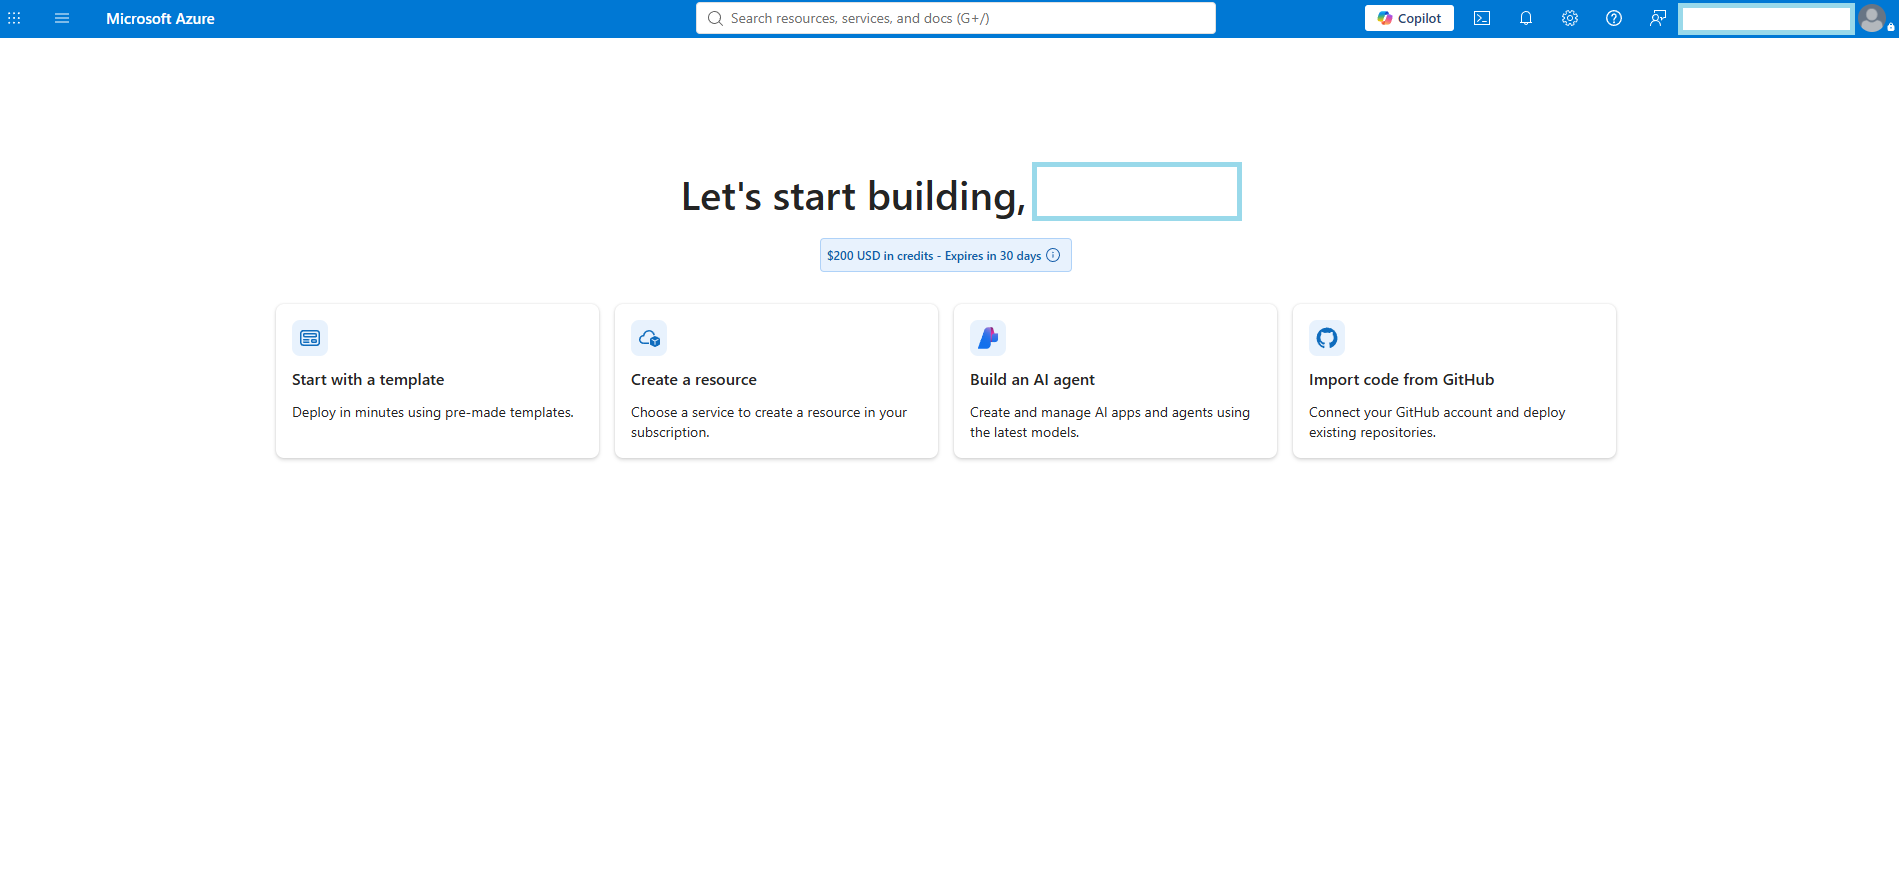
0.2 Landing Page of Azure
After the account was provisioned, I landed on the Azure portal home page, which confirmed the subscription and tenant were live.
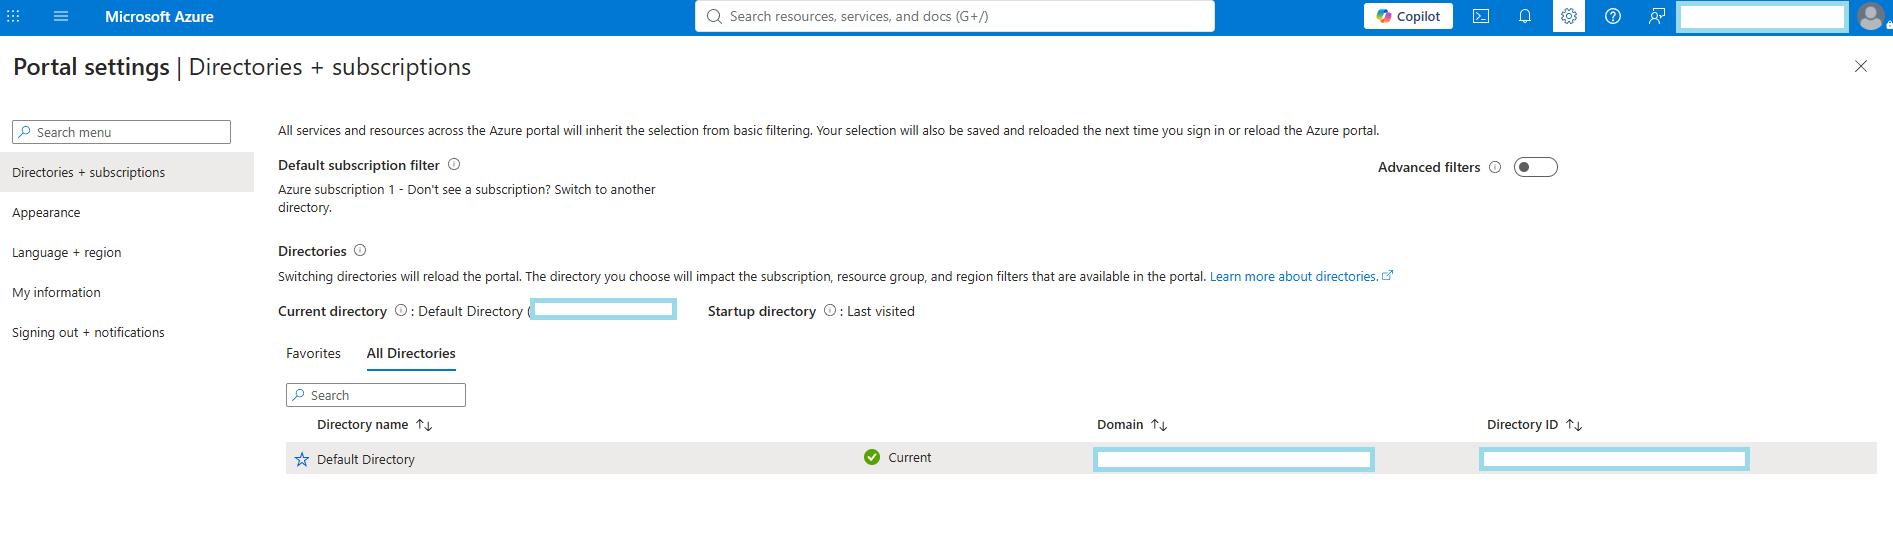
0.3 Recording the Tenant’s Default Domain
Before making any changes, I noted down the tenant’s default .onmicrosoft.com domain name. This is the domain every new tenant gets automatically once signed up, and it’s worth writing down early since it is the one identifier that does not change even if custom domains get added later.
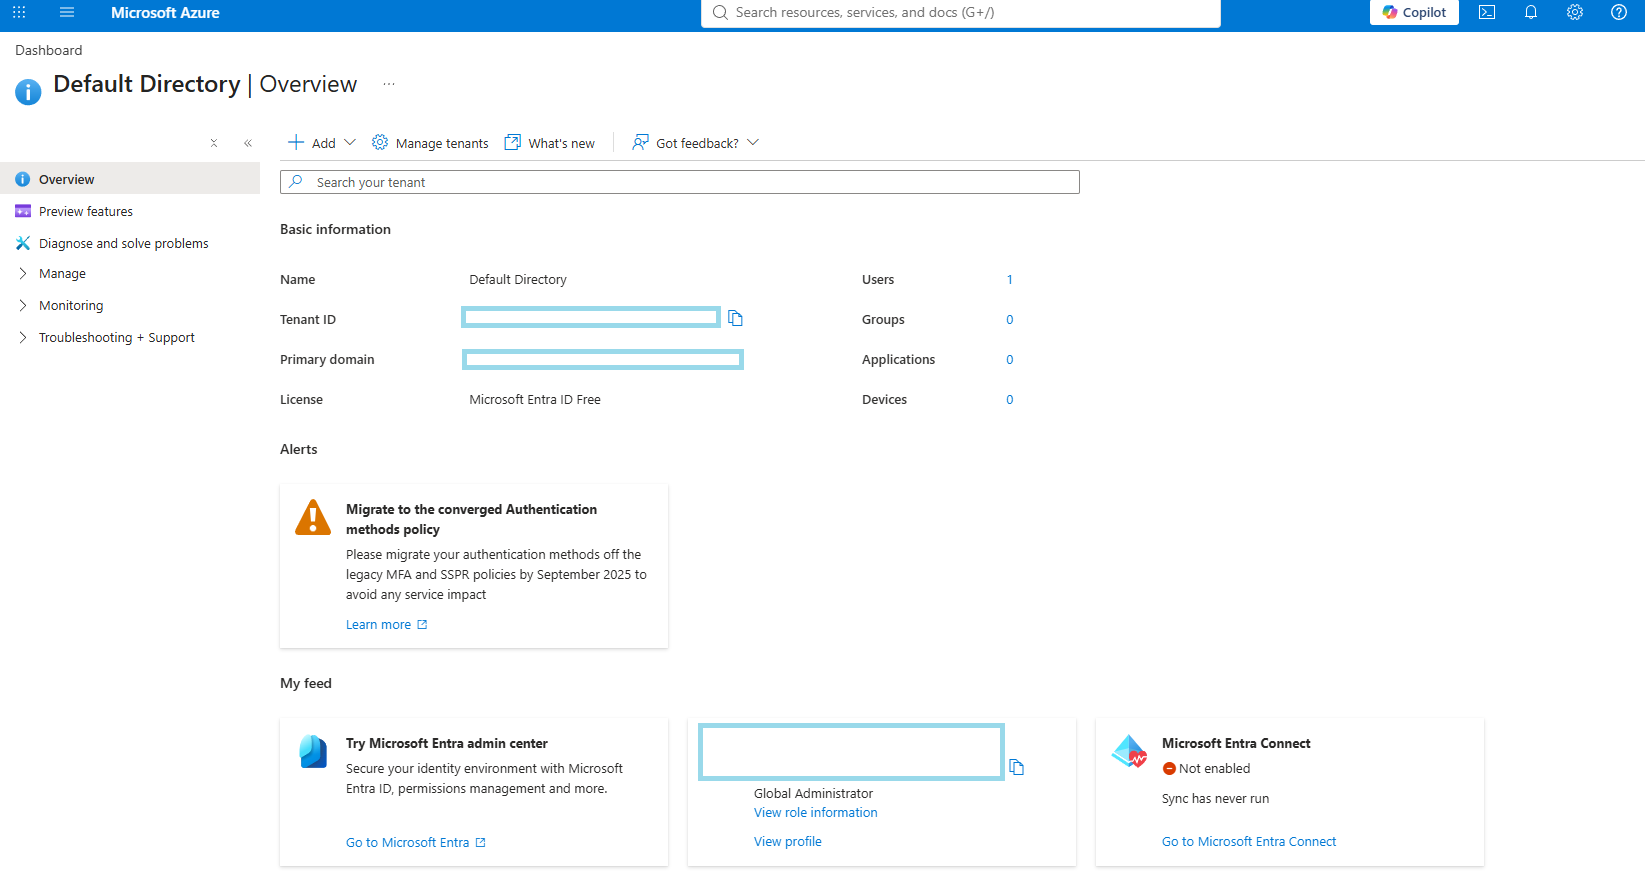
0.4 Creating a Dedicated Global Administrator
Rather than relying on the account created during sign-up, I created a separate Global Administrator account labadmin for day-to-day administration.
0.5 Create New User
Creating the new user account that will become the dedicated Global Administrator.
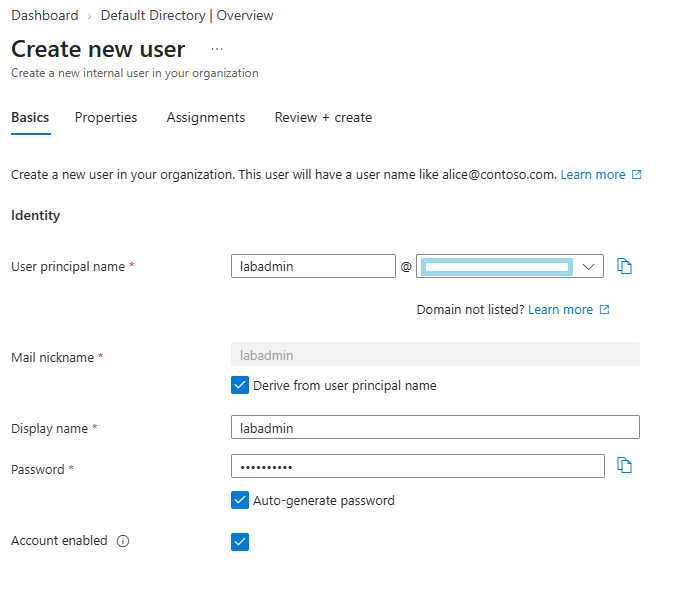
0.6 Create New User – labadmin – Copy the Password
Naming the account labadmin and copying down the auto-generated temporary password because we need it for the forced password change once we sign in to the labadmin account later.
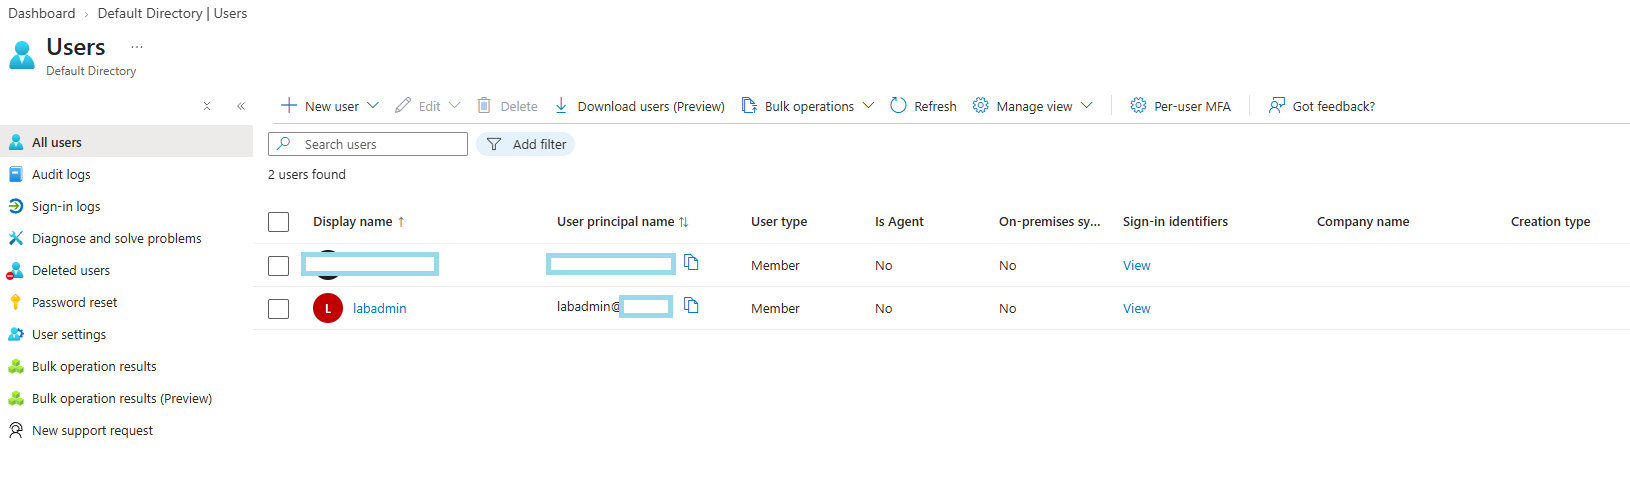
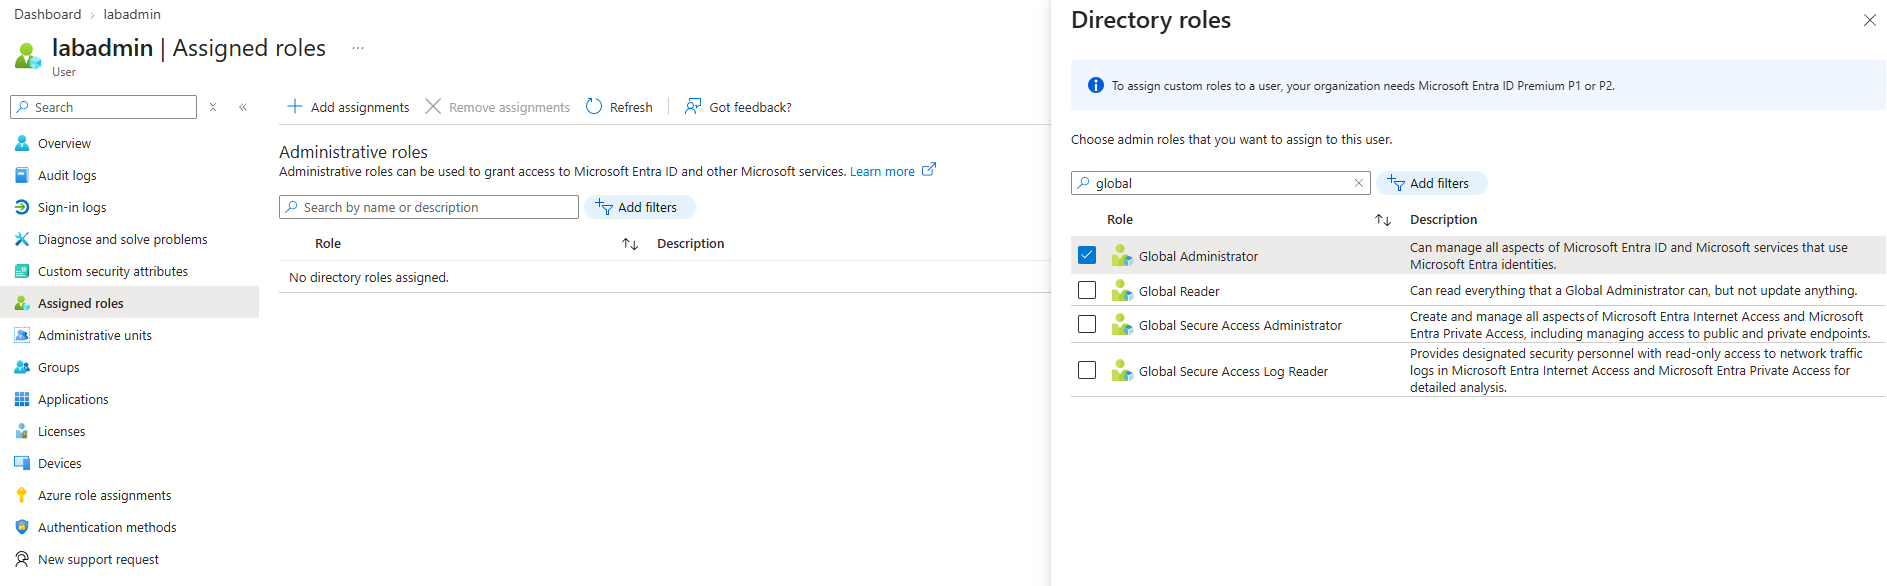
0.7 Assign Global Administrator Role to labadmin
Assigning the Global Administrator directory role to the labadmin account.
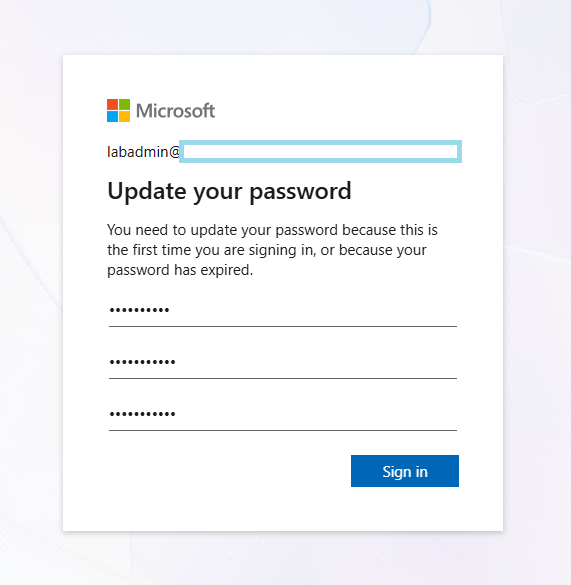
0.8 Sign in Using labadmin – Change Password
Signing in as labadmin for the first time and completing the forced password change.
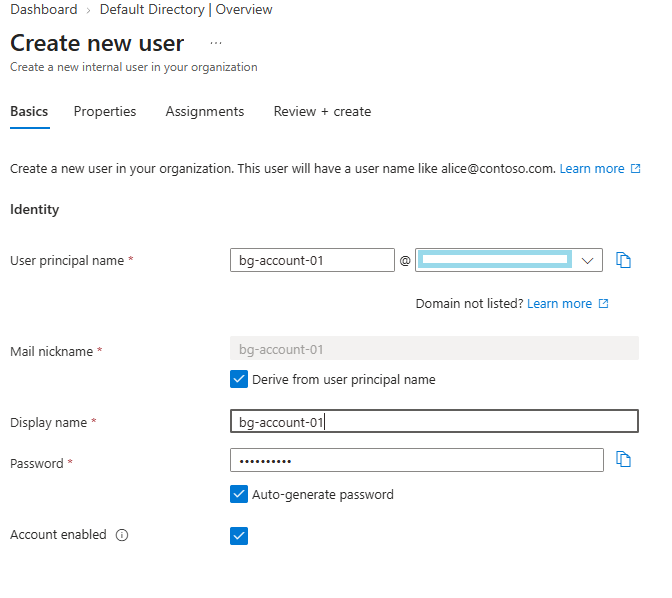
0.9 Creating the Break-Glass (Emergency Access) Account
With the day-to-day admin account in place, the next step was a break-glass account. It is an emergency access account that prevents us from permanently locked out of the tenant.
Why not just use PIM for this instead of a standing account? Because PIM activation itself typically requires MFA. If the MFA system is misconfigured, unreachable, or simply down, you end up in a dead loop: you need to activate a role to fix the problem, but activating the role requires the very MFA that’s broken. A break-glass account has to sit outside that dependency chain entirely, which means it needs to be a standing, highly privileged identity.
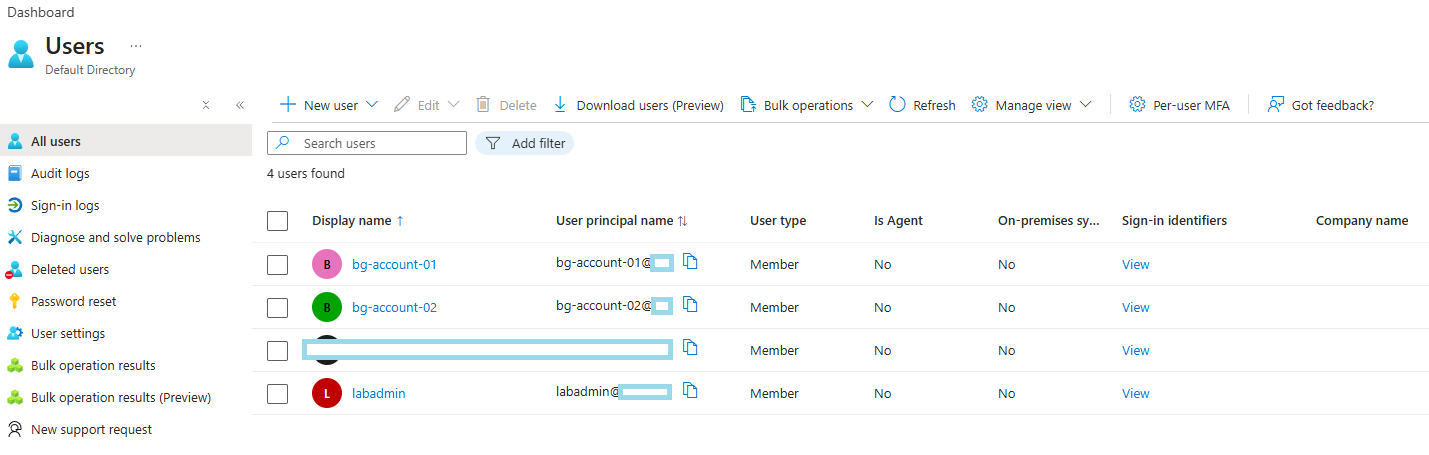
0.10 Break-Glass Account – Assigning the Role
Assigning Global Administrator to the break-glass account and keeping its credentials somewhere outside of the normal password management flow.
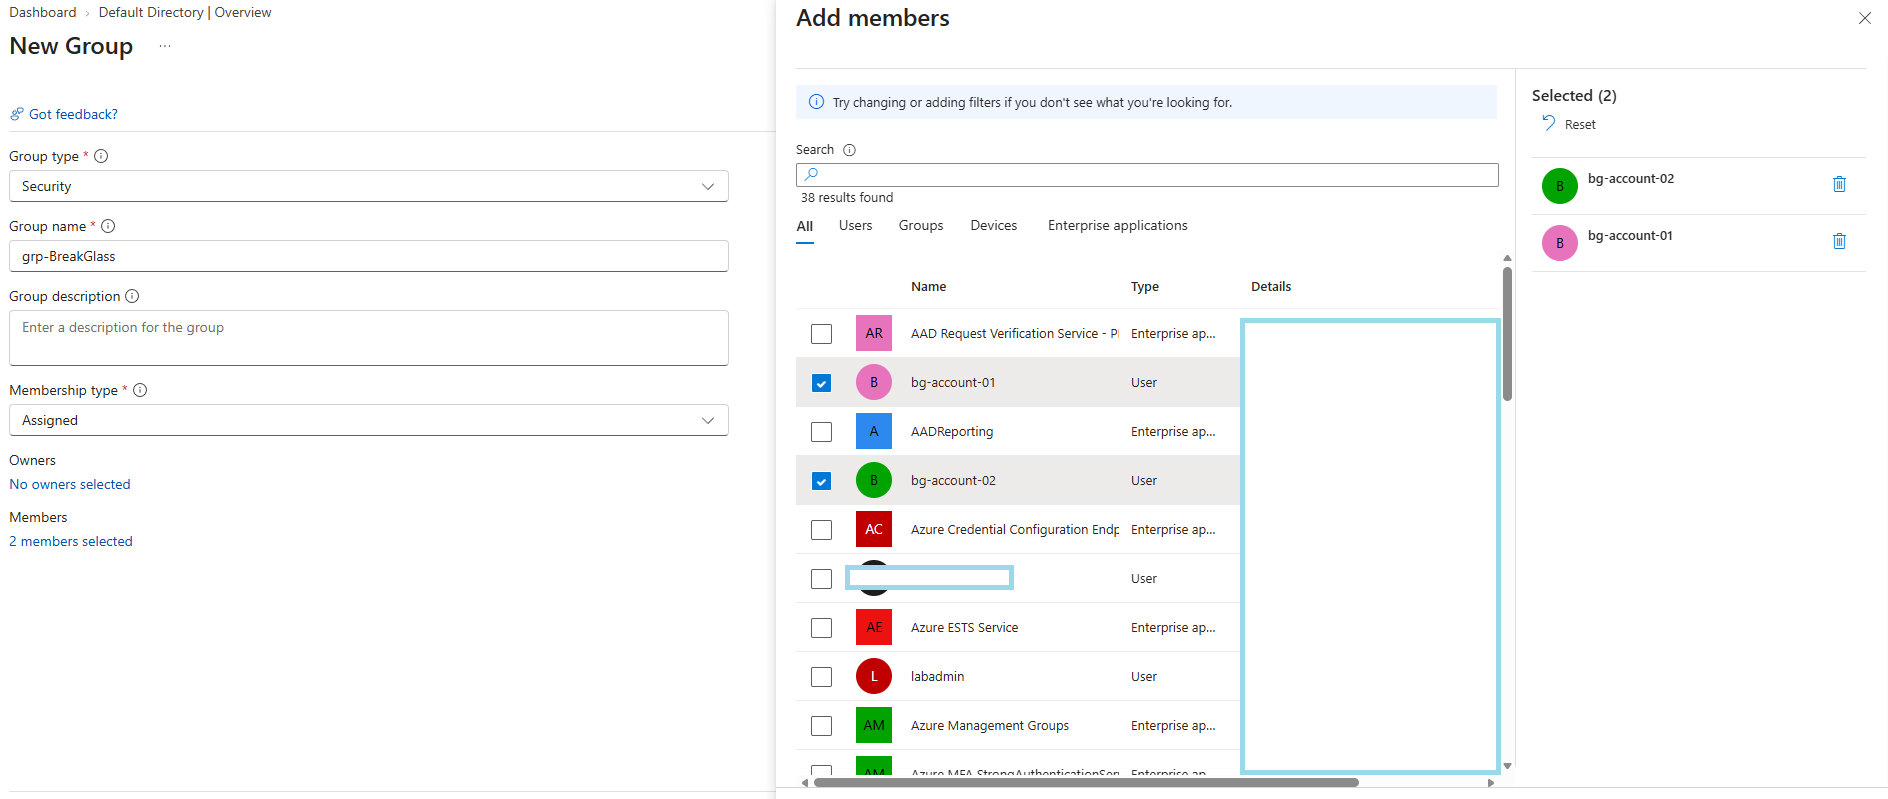
0.11 Break-Glass Exclusion Group
Adding the break-glass account to its Conditional Access exclusion group.
Why this group must use assigned membership, not dynamic membership: a dynamic group introduces an evaluation dependency. Its membership is computed by a rule engine that has to run and evaluate correctly. If that rule silently fails to evaluate, or the attribute it depends on changes unexpectedly, the account can quietly fall out of the exclusion group with no alert and no obvious symptom. Right at the moment we need the emergency path to actually work. An assigned group has no such dependency because membership is a static fact, not a computed one.
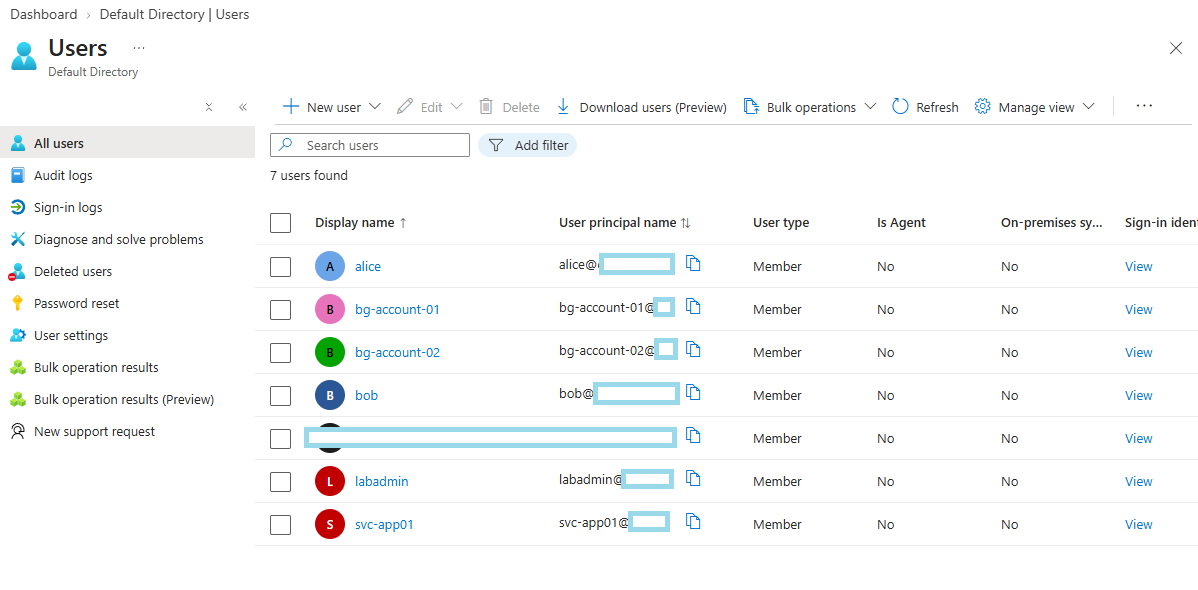
0.12 Creating Test Users
With the admin and break-glass accounts sorted, I created several test users to use as targets for later policy and role testing.
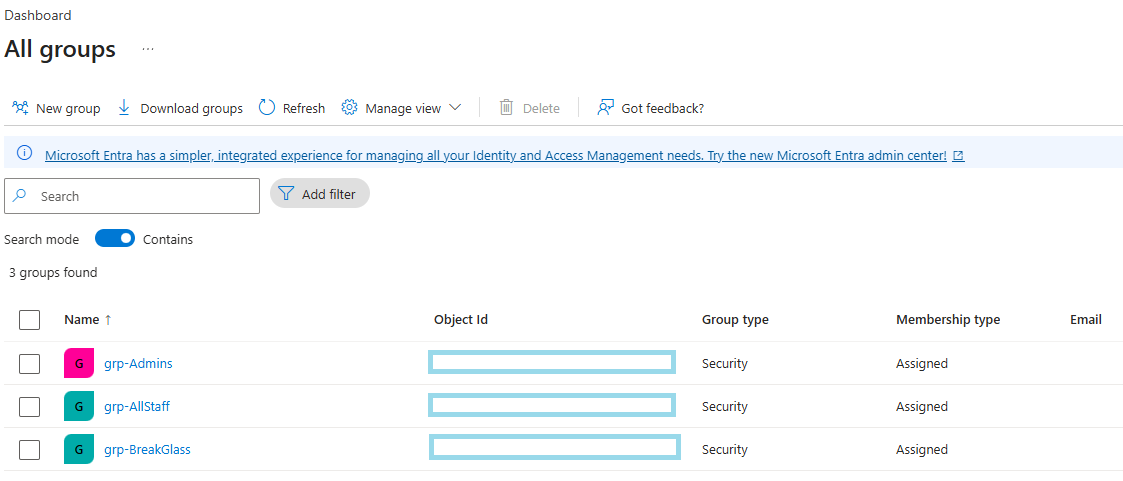
0.13 Creating Test Groups
While creating the matching test groups, I ran into a distinction that’s easy to overlook: Microsoft Entra ID directory roles and Azure RBAC roles have different requirements when it comes to assigning a group to a role.
- To assign an Entra ID directory role to a group, that group must have been created as role-assignable at creation time — and this setting cannot be changed afterwards. If you forget to flip it on when creating the group, the only fix is to create a new group.
- Azure RBAC roles, on the other hand, can be assigned to any security group, with no special flag required at creation time.
0.14 MFA
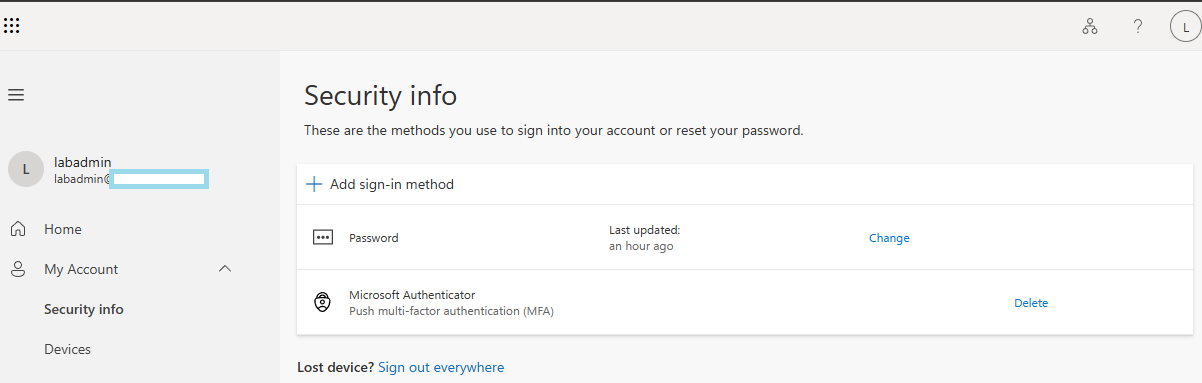
To register MFA for the labadmin account:
- Open a private/incognito browser window (to avoid session conflicts with any other signed-in account).
- Sign in as
labadminand go tohttps://aka.ms/mfasetup. - Complete the registration using the Microsoft Authenticator app.
0.15 Enabling the Microsoft Entra ID P2 Trial
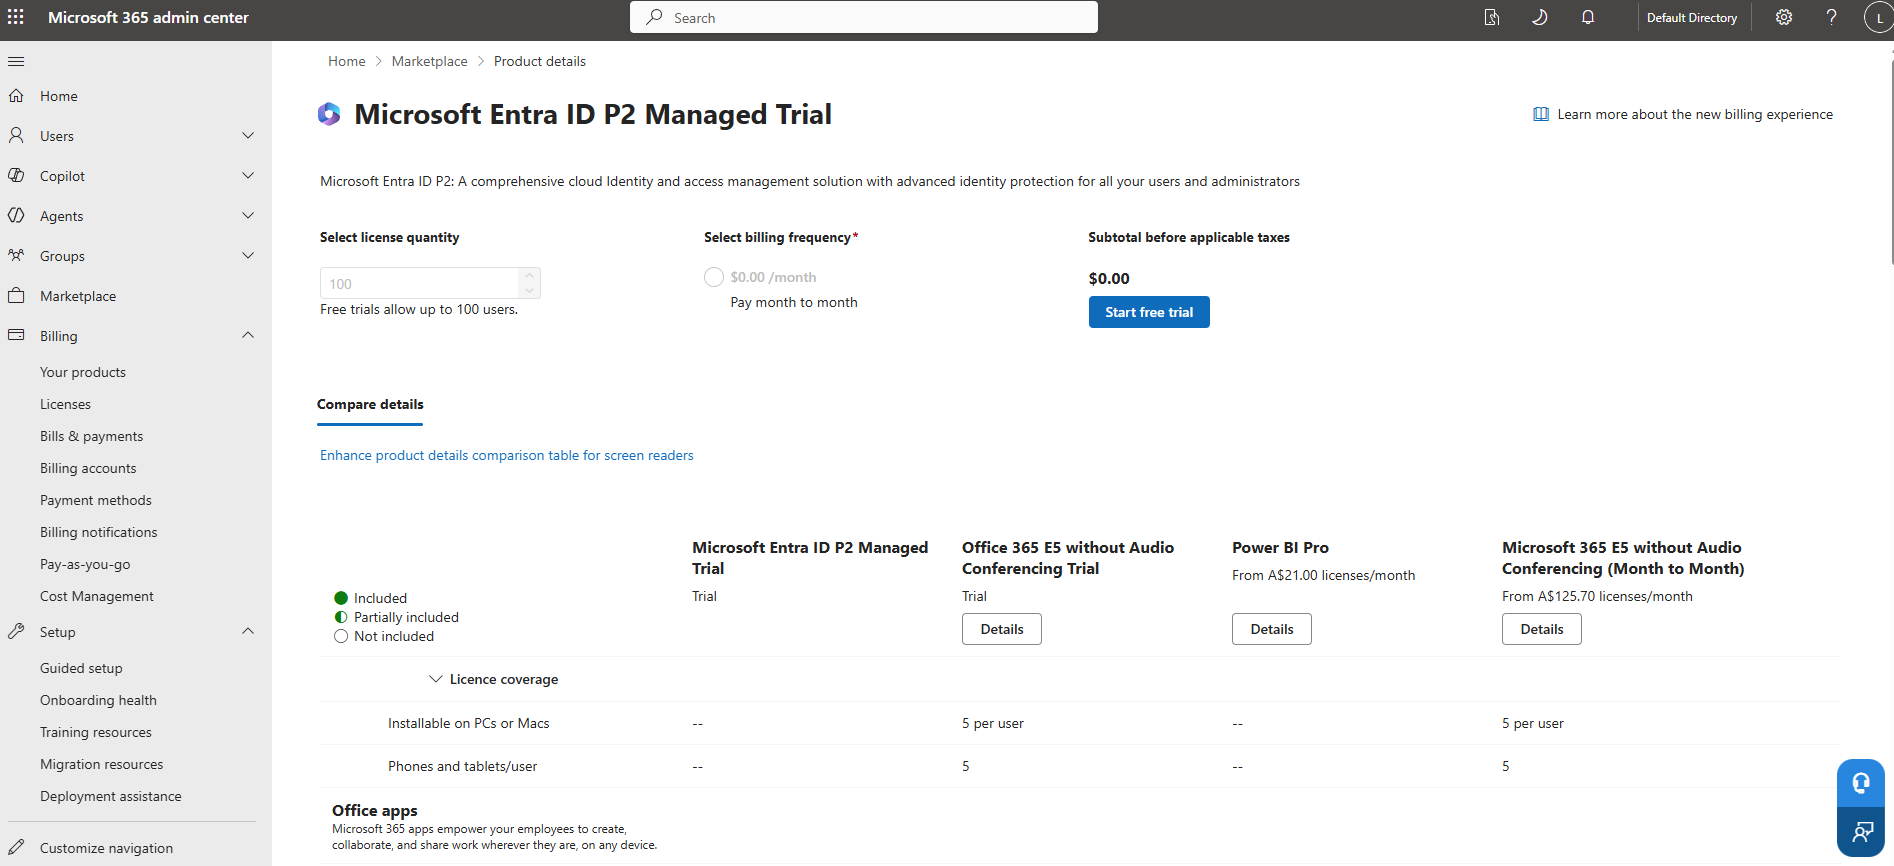
The free tier of Entra ID does not include PIM, Identity Protection, or several of the Conditional Access features the rest of this project needs, so the next step was activating the Microsoft Entra ID P2 trial. Signed in as labadmin, I started the P2 free trial (30 days).
0.16 Add License
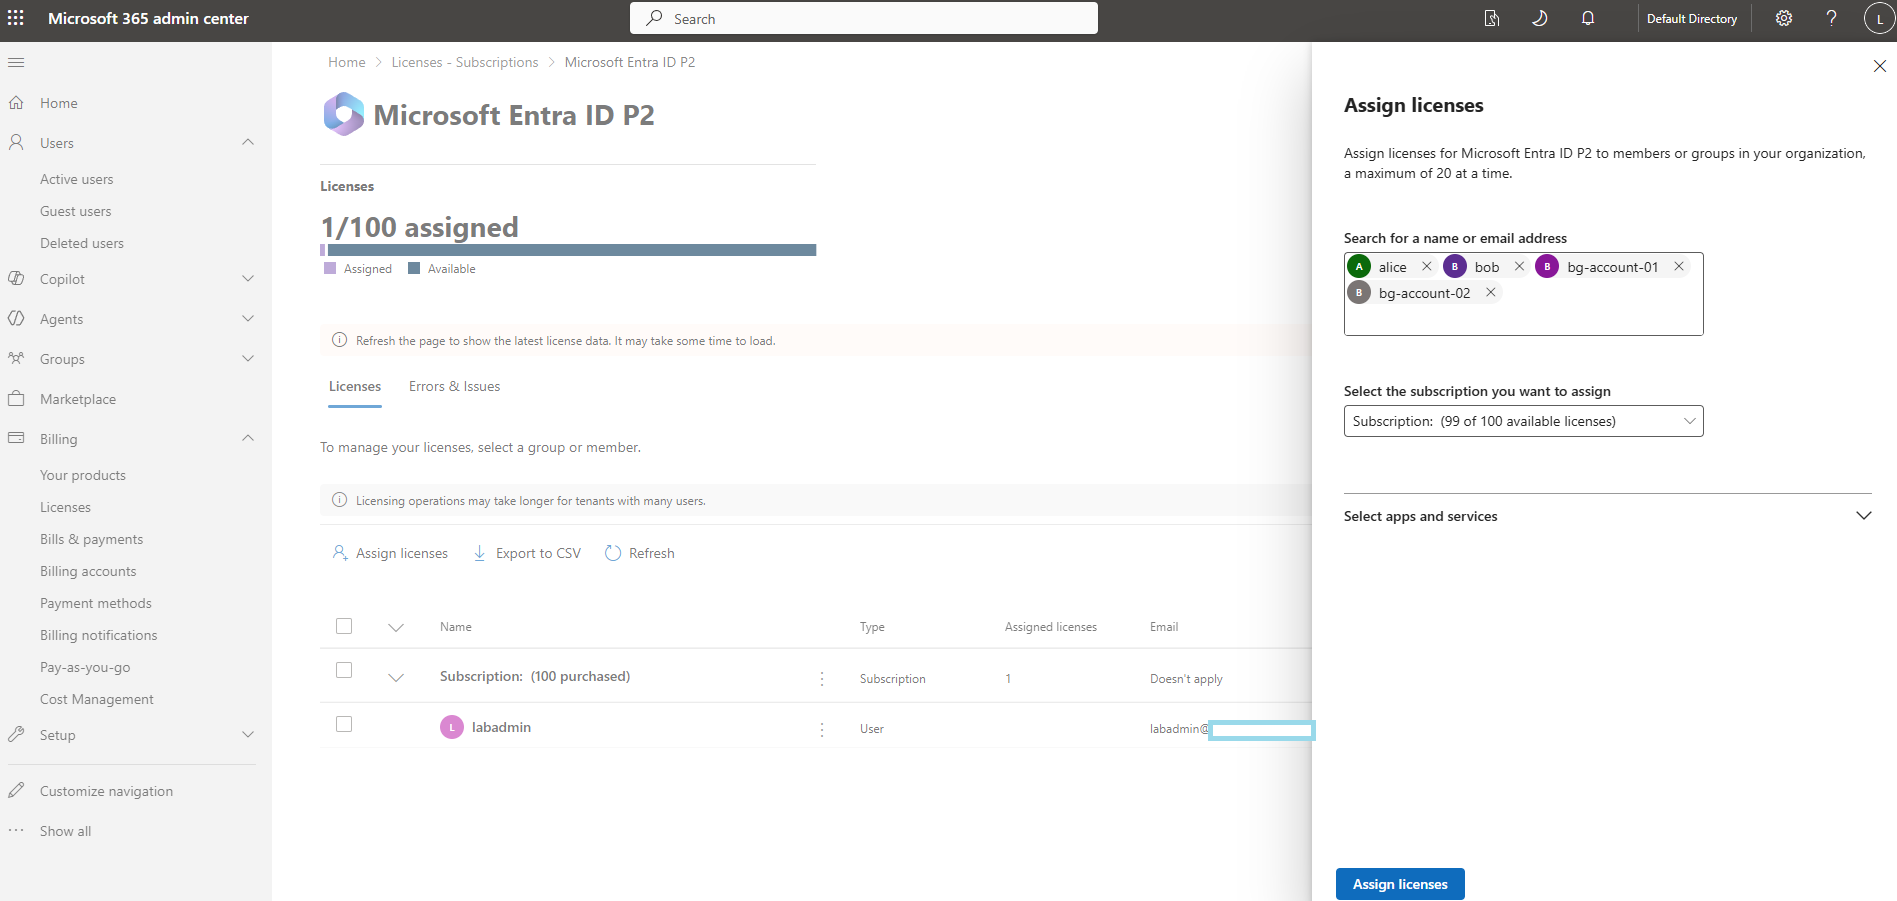
Applying the P2 license to the tenant.
0.17 Add License (continued)
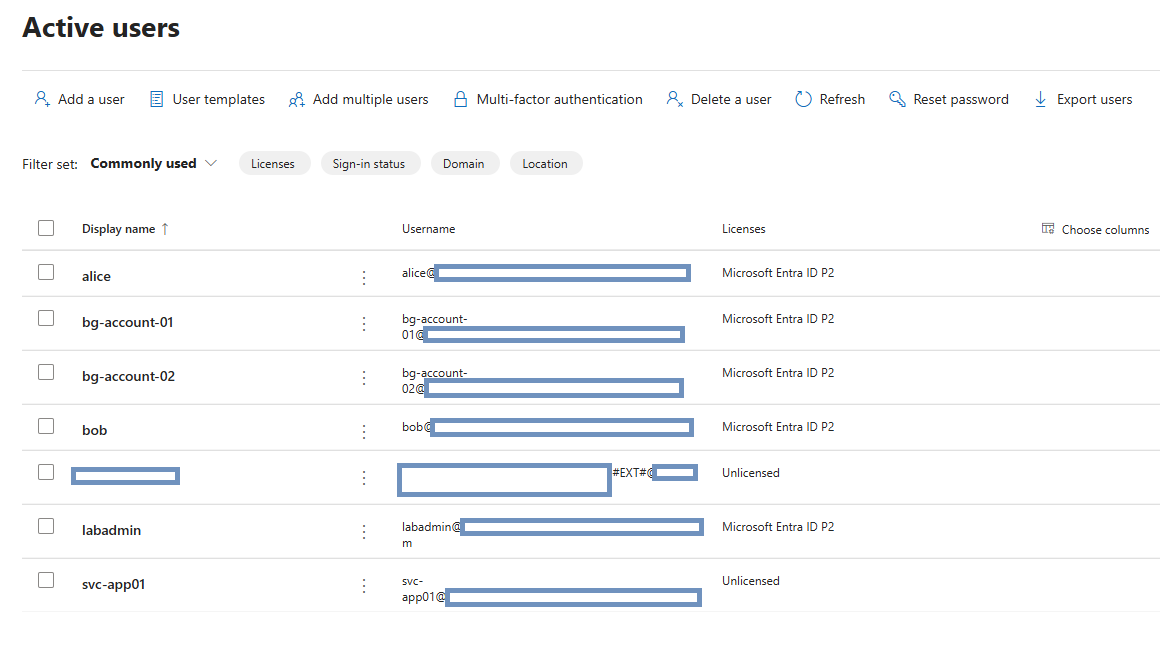
Confirming the license was assigned.
0.18 Verify – Break-Glass Accounts Show as Permanent
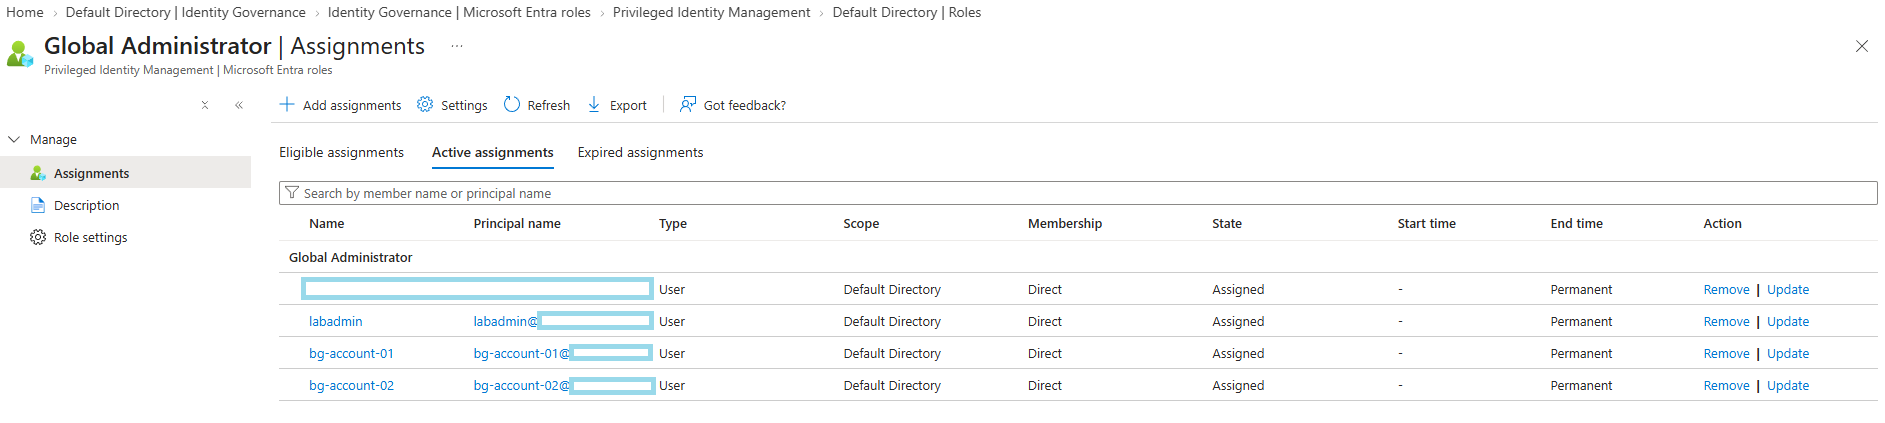
A useful verification is going to Roles → Global Administrator → Active assignments and confirming both break-glass accounts are listed with End time = Permanent. This is the check that actually important for the break-glass design. If either one account showed a time-bound assignment instead of Permanent, the emergency path would not be reliable.
0.19 Verify – PIM Is Actually Enabled
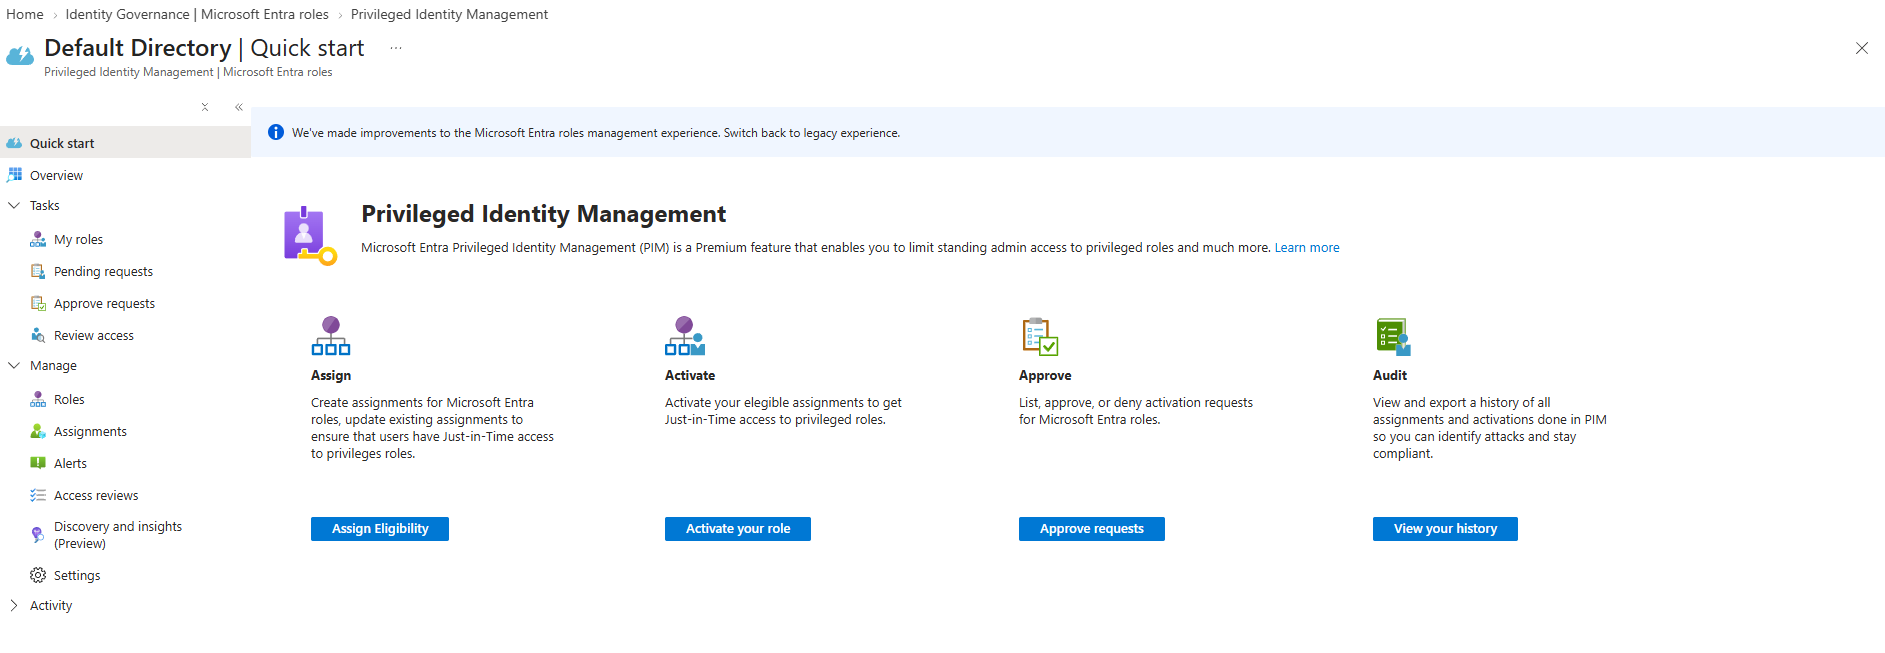
Finally, confirming the P2 trial had actually taken effect: Entra admin center → ID Governance → Privileged Identity Management → Microsoft Entra roles. If that blade loads instead of prompting for an upgrade, P2 is active.
Next Up
With the tenant, admin accounts, break-glass design, and P2 trial all in place, Phase 1 will move into Privileged Identity Management itself: converting the privileged directory roles currently sitting as permanent active assignments into eligible assignments, and testing out just-in-time (JIT) activation on top of that.